
Local Storage seems to be disabled in your browser.
For the best experience on our site, be sure to turn on Local Storage in your browser.
Local Storage seems to be disabled in your browser.
For the best experience on our site, be sure to turn on Local Storage in your browser.
September 19, 2023
Update: February 29, 2024
9 min read
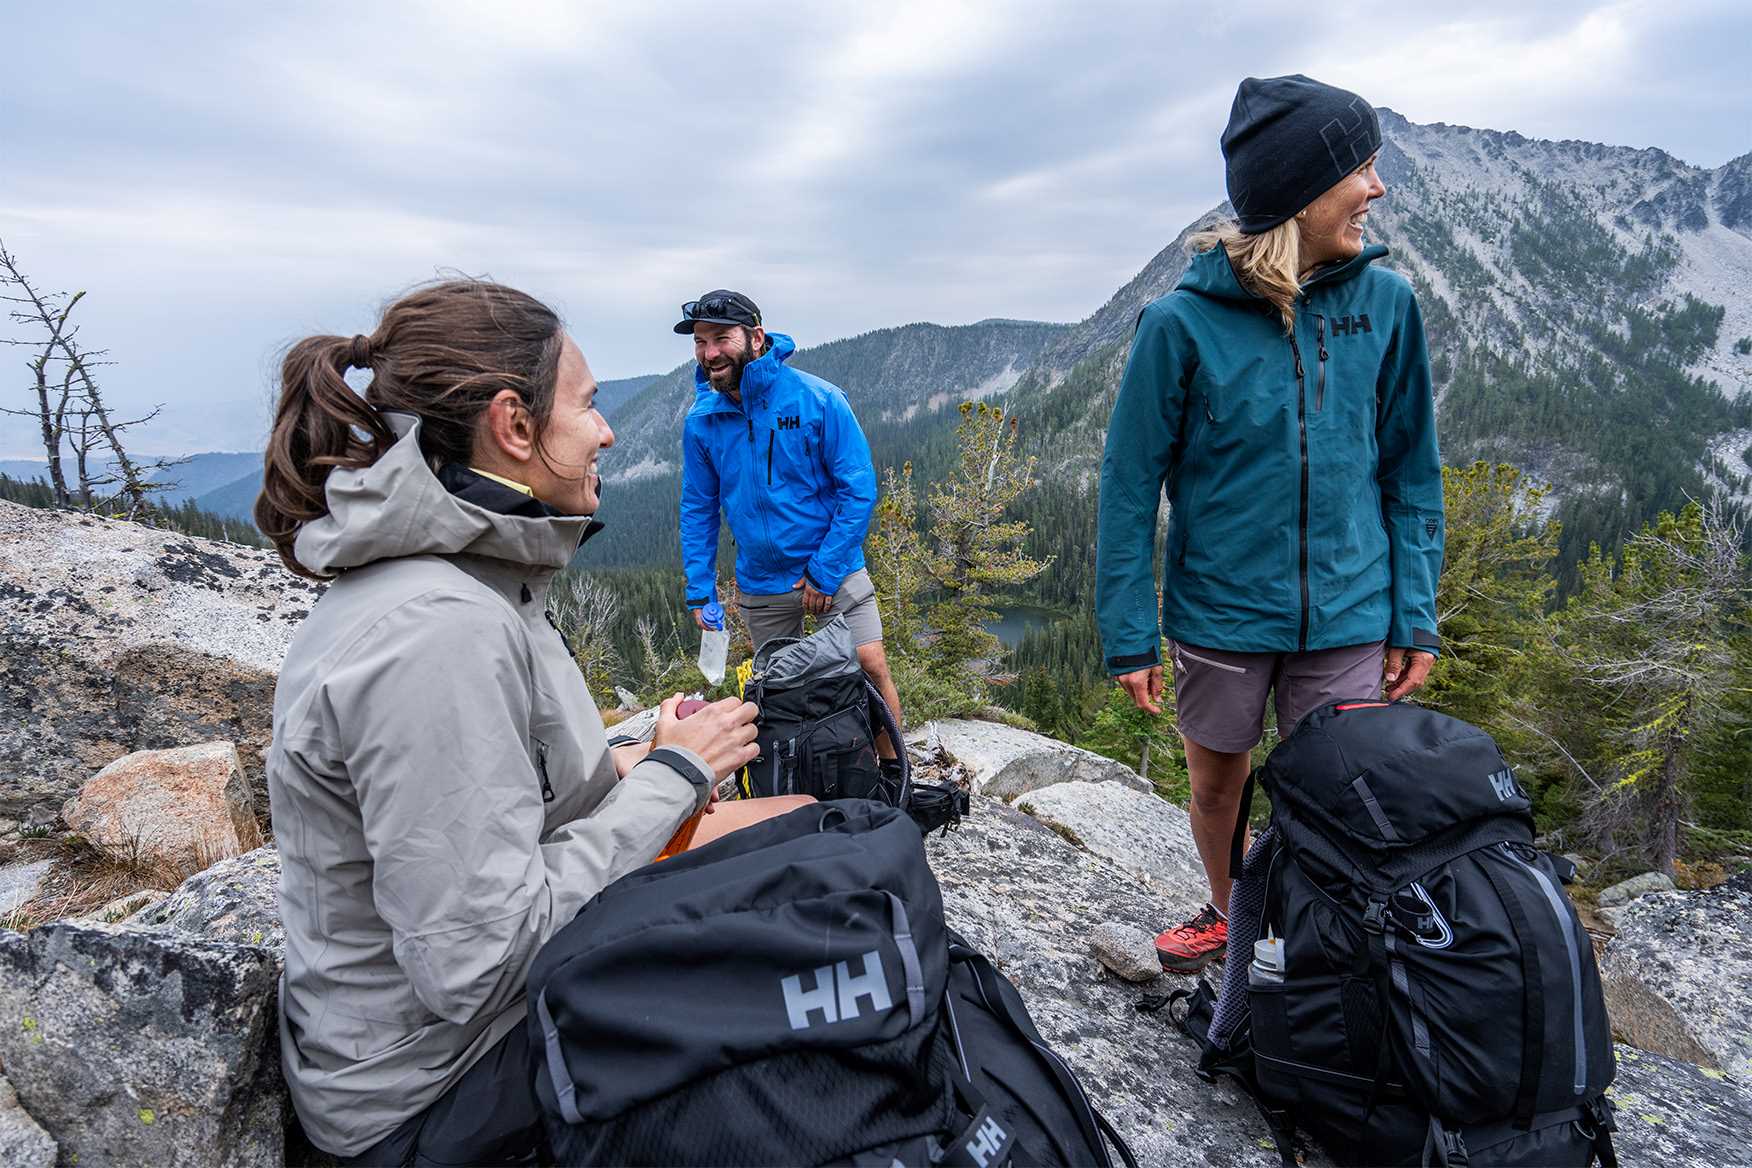
Jim Ryan is a professional big mountain skier and outdoor adventurer living in Jackson Hole, Wyoming. In this guide, he shares his tips and tricks on how to prepare and pack for multi-day backpacking trips—whether it’s in your local forest at home or a mountain adventure in faraway lands.
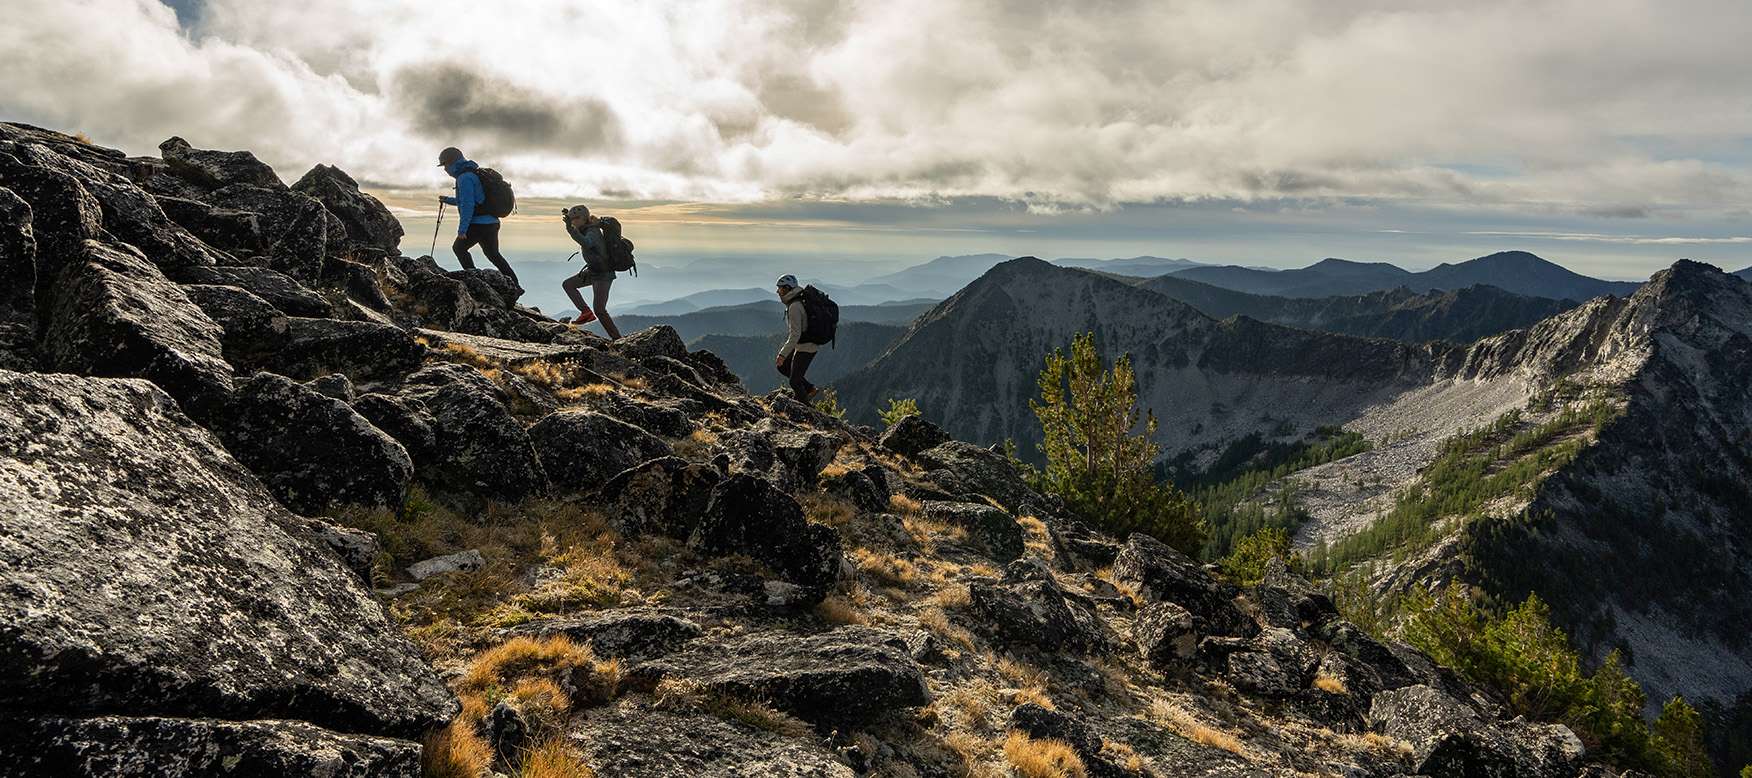
Time and load are the biggest challenges with backpacking. More gear doesn't necessarily make you safer. Many backpacking risks stem from the cumulative effects of carrying too much weight, rather than from a single incident. Walking all day with a heavy pack can cause aches, pains, blisters, and extreme fatigue. What might begin as a minor discomfort on day two can escalate and jeopardize the entire trip by day five. Even though it always hurts to drop out, it's a good idea to separate the success of any trip from completing a predetermined goal.
In my experience, dropout during treks often stem from inadequate training and heavy pack weight. When your body lacks the stamina to walk long distances and recover effectively, fatigue sets in and continuing becomes increasingly challenging.
If your trek involves covering 10 miles a day for 10 days, you don't necessarily need to train by hiking 10 miles in a single day (although it wouldn't hurt). What's important is preparing your body to recover efficiently. This might mean hiking as little as two miles a day, three days a week, for two months leading up to your trek.
It's okay if the initial days of your trek are the longest you've ever hiked. Just make sure that your body is familiar with the movements required. If your body has to adapt to hiking (or carrying a heavy load) and learn how to recover from this new activity at the same time, you might find it difficult to continue.
So yeah, go on a hike with your bag before your hike.
If you're new to backpacking or thru-hiking, the importance of weight (or lack thereof) for a successful trip can be challenging to fully grasp. As humans, we're naturally adept at walking long distances. But carrying a backpack introduces an unnatural strain that can lead to injuries over time. The key is to minimize that extra strain.
Let me challenge you to predict the future—a future where every item you carry somehow feels 10 times heavier each day. Nearly every time I introduce (typically athletic) friends to backpacking, they load up their pack, put it on, and say something like, "not too bad." The initial strain of a heavy pack seems totally manageable. But what they sometimes fail to see is the toll that carrying this weight for eight hours a day, day after day, can take on their bodies.
Editor's note: check out our guide on how to pack a backpack for hiking.
Safety is paramount in the backcountry. In the end, I want to prepare myself to be as safe as possible. There are some things that are simply essential. There comes a point, however, where less is more.
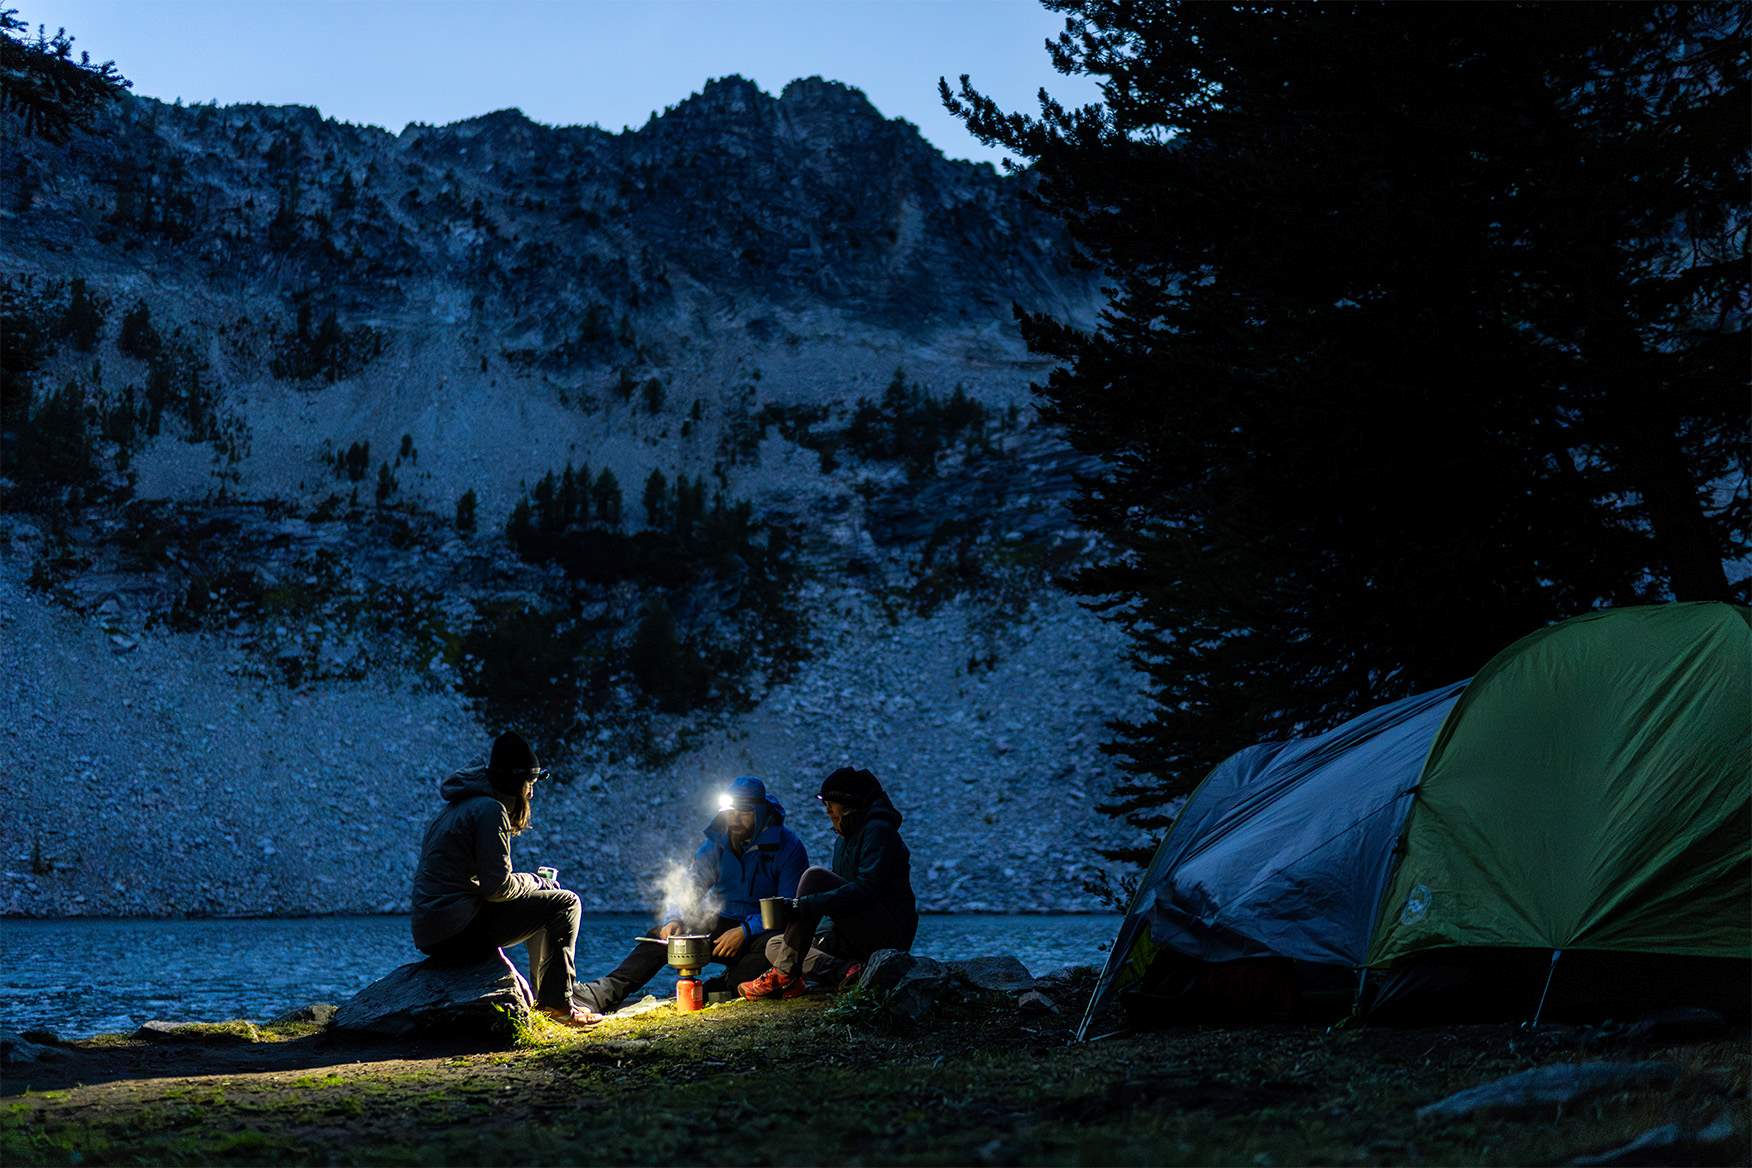
Knowing that I'll be warm and comfortable at night helps me to overcome any discomfort that I experience in the day. For a 3-10 day backpacking trip, a tent, a sleeping bag and a sleeping pad covers my needs.
TENT: A tent provides more comfort and safety than almost any other piece of gear.
SLEEPING BAG: If the temperature is forecast 40°F or lower, I’ll bring a 0°F sleeping bag. A warm sleeping bag is also very useful should something go terribly wrong and you find yourself in need of assistance.
SLEEPING PAD: Separating yourself from the ground is essential for both comfort and warmth. I use an insulated inflatable sleeping pad. If you're considering the same, note that this type of pad needs to be airtight, so make sure to pack a repair kit—it could save the trip.

They key to technical clothing is to identify what is not needed and realize the power of layering.
RAIN JACKET/ SHELL JACKET: A waterproof layer is essential. It's important to me that each piece to performs more than one function, so I normally bring a slightly more robust rain jacket or a shell jacket. I like the Verglas Infinity Shell Jacket: it fits perfectly over my puffy or insulated layer, and also tackles colder weather.
PUFFY JACKET: A puffy jacket comes with me on all my overnight adventures, regardless of the season. It seriously improves your experience in terms of both and comfort and safety. For warmer treks and summer hikes, I bring a lightweight and packable insulator. In fall and winter, I prefer the comfort of a down jacket.
Top tip: make your puffy jacket into a pillow by packing it into a shirt or other clothing.
SHELL PANTS: Opt for quality over quantity. Investing in a more expensive pair can save you some money and weight compared to multiple, cheaper pairs. For almost all occasions, I wear the Verglas Tur Pants. They're resilient enough in cold and wet conditions, while also allowing ventilation on warmer days thanks to thigh vents. With their stretch fabric and reinforced canvas, these pants excel in almost all environments, for days on end.
MIDLAYER: You only need to one, so make it good. I normally splash out on a midlayer with merino wool because it's warm, comfortable, and repels odor (which is soooo nice). If that doesn't keep you warm enough, try it on with your other layers and see. Every piece should work together to keep you warm and dry. If you're considering a piece that you can’t wear with your other layers, then it's probably not necessary.
Editor's note: check out our guide on how to choose a midlayer.
Regardless of the number of days, I always pack:
BASE LAYER SHIRTS: Keep in mind that you’re going to live in your base layers, so make them worthy. Merino wool and technical materials go a long way. Cotton tends to get nasty fast, and it's also less comfortable in the short-term. I bring some staple shirts. If I know it'll be colder, I throw in an extra shirt or two.
Base layers for cold conditions:
Base layers for warmer conditions:
Editor's note: check out our guide on what you need to know about base layers.
SOCKS AND UNDERWEAR: The type of underwear depends on the conditions. As for socks, I wear ski socks because that's what I have. My top tip is anything but cotton. If packing only three pairs seems gross to you, get used to it. Embrace the nastiness of putting on a dirty sock in the morning...You're wild, free, and stinky! I promise that you’ll forget all about your socks within five minutes of putting on your boots (your mind will surely be on your back and the long day ahead).
Socks and underwear for cold conditions:
Socks and underwear for warmer conditions:
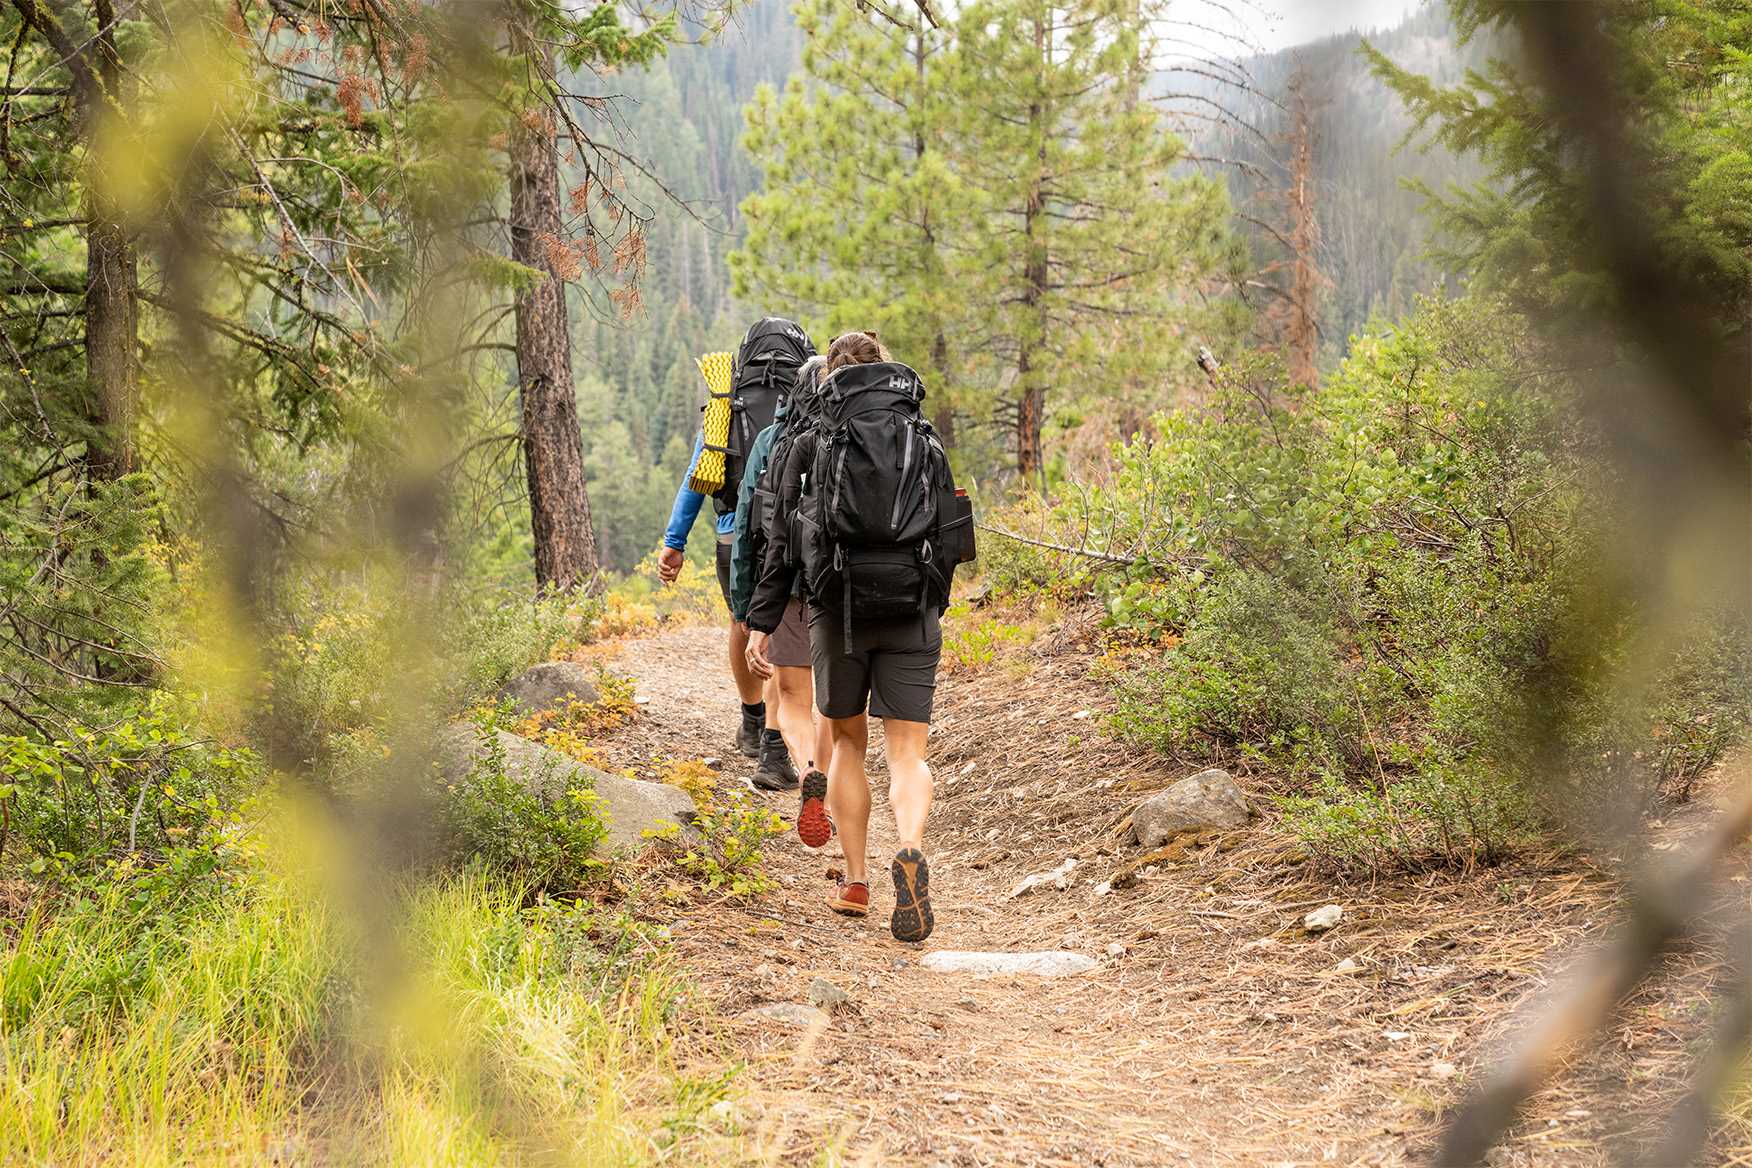
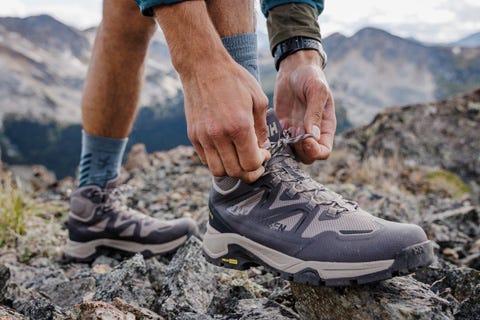
HIKING SHOES: Hiking shoes and boots are tricky. I prefer low-cut hiking shoes with less padding, but some of my friends rely on boots with ankle support and a cushioned rocker. In my opinion, shoes with less padding help to build the strength in the long run, leading to a lifetime of movement in the outdoors. Ultimately, it's only through trail and error that you'll find the footwear that works best for you.
CAMP SHOES: Anything that's lightweight and easy to put on is nice. I wear Crocs, but flip-flops, Tevas or slides totally work.
HATS: Bring one to protect you from the sun and another to protect you from the cold. Coolness ranks high here.
SUNGLASSES: Even when it's cloudy, your eyes are more prone to sunburn than you think. With so much of the experience being visual, go for a pair with polarized lenses. Don't ruin your experience with 10 dollar shades.
STUFF SACKS: Since some stuff sacks weigh as much as a pair of socks or even a base layer, aim to limit these to no more than four. This means you have one designated for:
This is where you get to express your core values. Only bring luxury items that you're literally willing to sacrifice your body for, so choose wisely. I pack a pair of thin fleece leggings. Having warm legs before getting into my sleeping bag is something I really value.
STOVE: I love my MSR Pocket—it's tiny and compatible with most of the gas canisters sold in gear shops around the world. Jet boils are a bit bulky in my opinion, but if you like it, rock it.
COOKING GAS: Do not forget it.
LIGHTERS: Bring at least two. Ever tried to start a fire without one? It's really really hard. Plus, it still gives me a rush to buy lighters, I’m not sure why.
POTS: Depending on the size of your crew and the meals you plan to make, one or two pots should be enough. Don't steal your mom's pots. For both you and your mom's sake, opt for something aluminum alloy or titanium.
SHARP KNIFE: I get it, you're tough, but not everyone in your crew needs a huge knife. One knife should cover a group for chopping and meal prep.
CUTLERY: A plastic spoon is all I need to eat. No forks, get creative!
PLASTIC BOWL: Anything you can eat off a plate can be eaten from a bowl. If you really want a plate, the Fozzils Snap Bowl is a great 2-in-1 that can be licked clean at the end of your meal.
MUG: If you're a coffee addict, this is important. But a metal thermos or insulated mug is overkill.
FOOD: Obviously you need to eat, but remember that water weight is the enemy. Reduce weight by re-packing food in a large Ziploc, and bringing food that can be hydrated in the field.
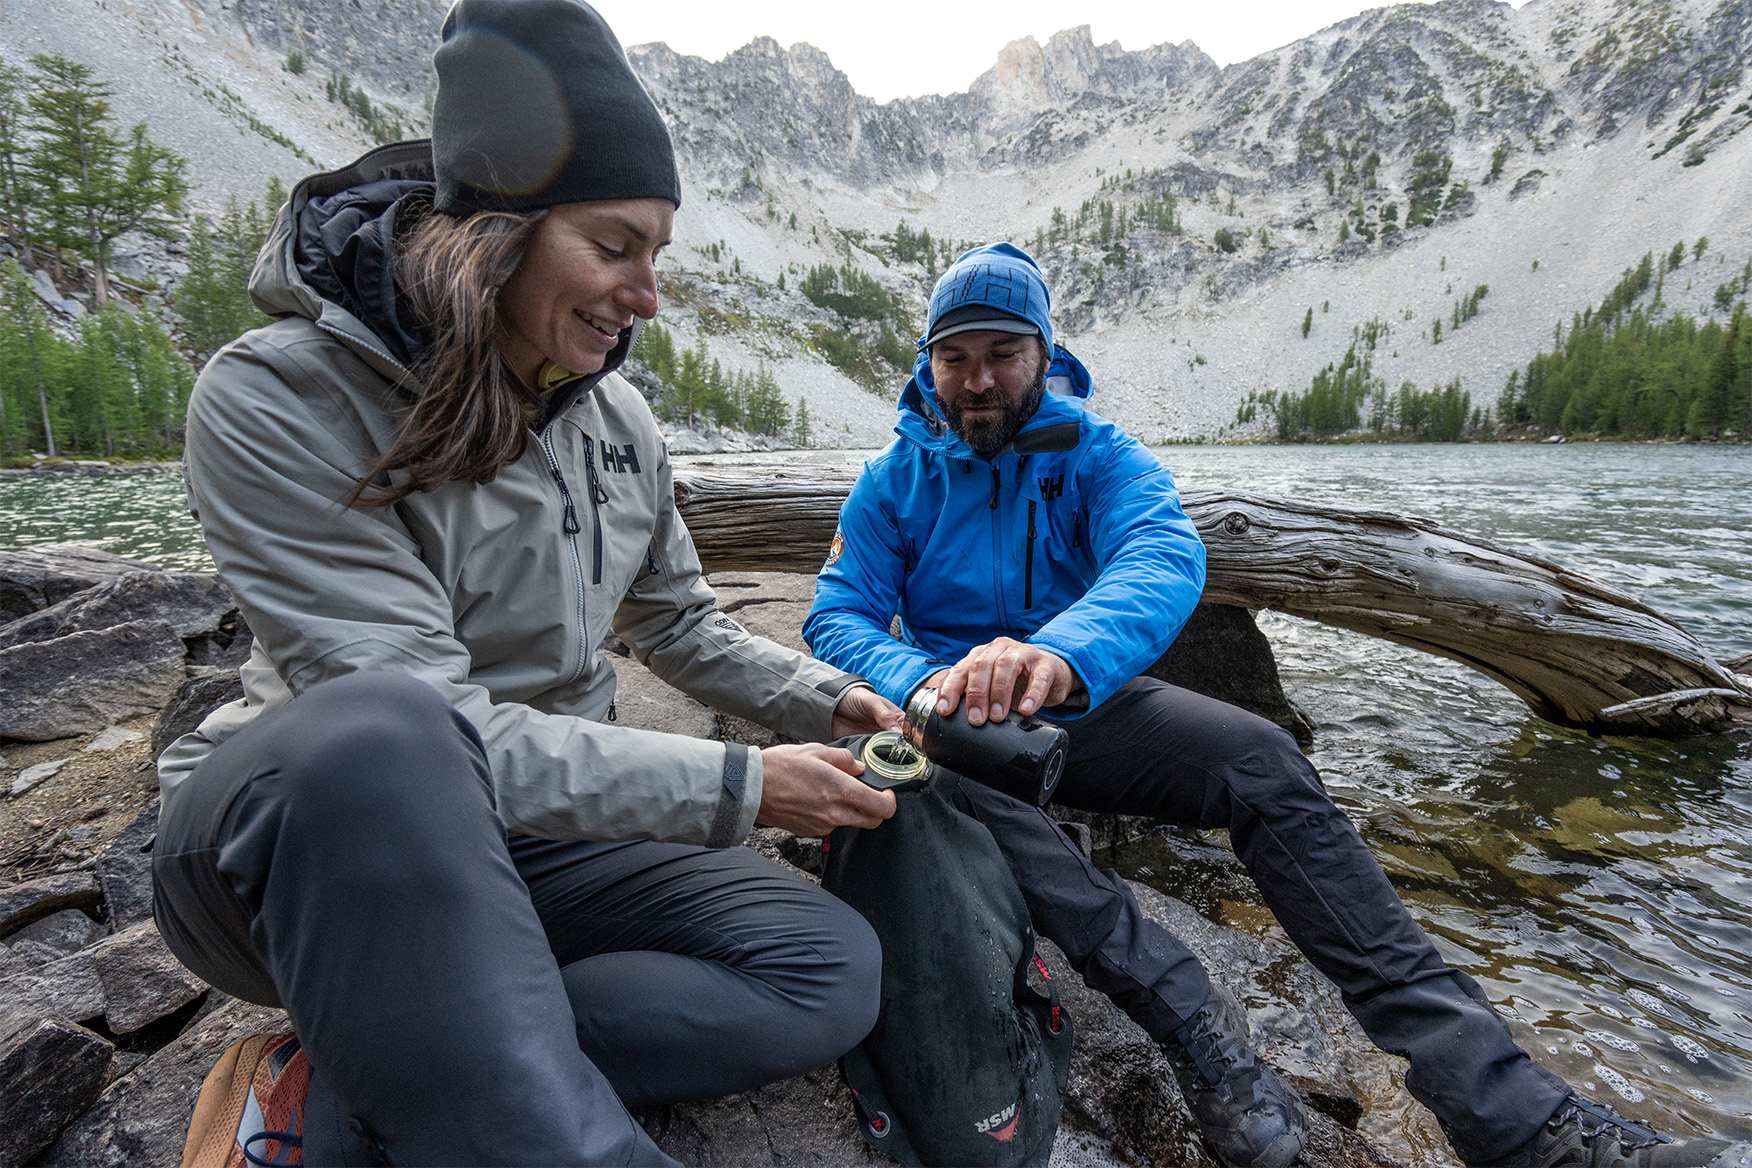
WATER: Make sure you have a plan to get water and filter what you find. I use the Katadyn Filter System. The Sawyer Squeeze filter system is also really capable.
TRASH BAGS: I use trash bags to carry used food containers.
GPS SATTELITE/ SATTELITE COMMUNICATOR: I always bring a Garmin Mini—it's tiny and provides a huge peace of mind. If you bring one, make sure you know how to use it and that you have a plan with your emergency contact.
MULTITOOL: definitely the most fun thing to shop for. It doesn't need to have everything.
HEADLAMP (AND EXTRA BATTERIES): There's nothing worse than rifling around in the bottom of your bag in the dark. A headlamp or headtorch is absolutely essential. Give it a set place when you organize your bag and make sure to always put it back in the morning.
FIRST AID KIT: I bring a bit of everything, including a lot of blister solutions. While it's responsible to pack a first aid kit, carrying the weight of a bleed kit built for an entire infantry battalion might end up putting your back, knees and ankles in jeopardy. Consider the weight of each item and its potential impact on your personal safety. More doesn't always mean safer. And be realistic. What first aid are you really capable of giving? If something goes wrong, you want to have just enough supplies to keep yourself (or someone else) alive and comfortable until rescue is at hand.
That's the core stuff covered. Obviously, every trip is unique and requires a unique set of tools and clothing…use your best judgment. Most importantly, keep your eyes open, your senses peaked, and remember that when it comes to backpacking, the experience is collective and cumulative. It will only continue to reveal itself and multiply with every additional mile and moment.
May 15, 2024 3 min read
The best hiking shoes or boots should be comfortable to wear. Follow our expert tips to learn how to choose the right hiking footwear for you.
April 15, 2024 2 min read
Learn how to fit your backpack perfectly with expert tips from Helly Hansen's Darren Lum. Discover essential adjustments for comfort and safety.